Sign up for the Family Tree Newsletter Plus, you’ll receive our 10 Essential Genealogy Research Forms PDF as a special thank you!
Get Your Free Genealogy Forms
"*" indicates required fields
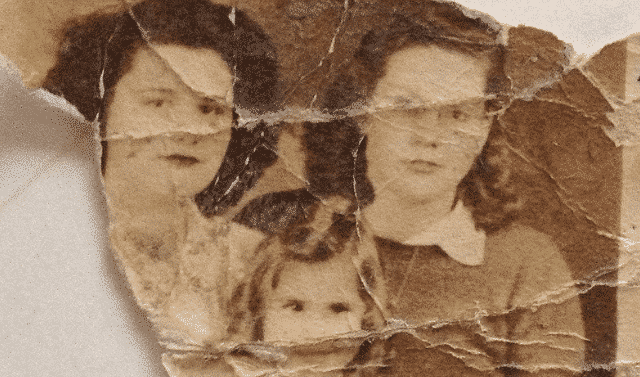
We tend to assume that future generations will always know who people are in photos, but (as you may have learned) that’s not always the case. So it’s important to understand how to safely label photos to preserve the information in them.
This is a common problem for our readers. One wrote in that, “Before I knew any better, all my family photos are marked on the back in ballpoint pen. Will this damage them? Will the ink eventually seep through? I now have an archival marker for pictures going forward.” Another wrote: “It seems that all the articles about photo restoration say not to write on the back of photos with anything other than a soft-lead pencil. Several years ago, I wrote names, etc. on the back of some of my photos using a waterproof and permanent ink marker that I purchased at a photography store. The pictures are still in perfect condition today. Is there any reason I shouldn’t be using this marking pen?”
Both of these questions address a similar issue: How do you safely label photos to identify information in them for future generations? Photo-safe products on the market can help you—as can these three tips for marking photos.
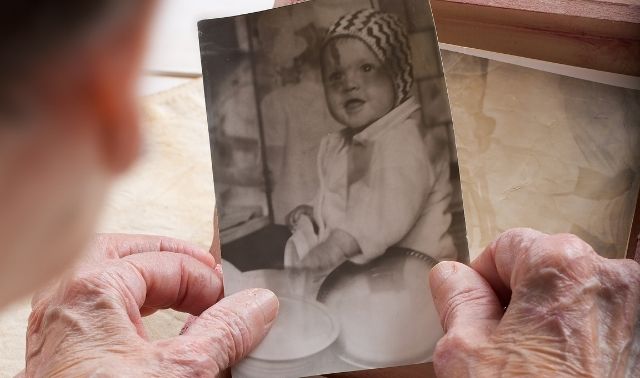

1. Write on back of photo using a soft lead pencil
If you can, use a soft lead pencil to write information—including who’s in a photo, the date it was taken, the occasion, and where it was taken—on the back of a photograph (where the information will never become separated from the image). Soft lead is important because hard lead pencils will leave an indentation. Place the photo face down on a clean, dry surface and write with light pressure.
Consider writing some of the following details on the back of the photo:
- name(s) of the individual(s) pictured, as well as their birth or death dates
- when and where the photo was taken
- where you found the original image, or who has/had custody of the image
2. Use soft-tip markers for photos with coating
Unfortunately, pencils won’t work on the coated papers used for today’s photographs. Instead, purchase an odorless (when dry), waterproof, soft-tip marker. Just be careful to let the ink dry completely before you stack or store the image, because it is permanent.
Ballpoint pens and regular felt-tip markers are not good choices for labeling photos: Ballpoint pens smudge and leave indentations in the photograph, and felt tip markers can bleed through the image. The good news is there are lots of choices for safe labeling tools in art supply stores and craft shops.
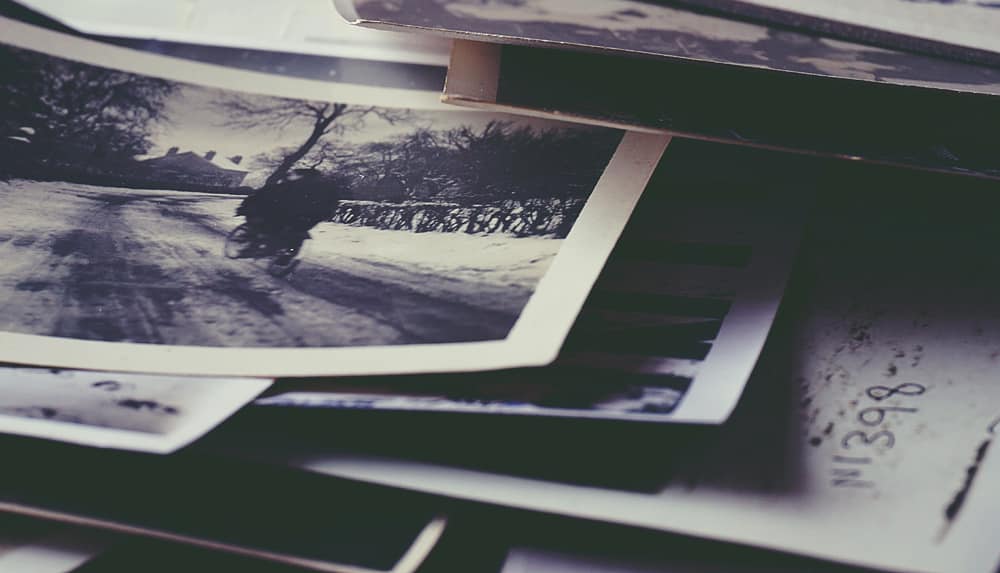
3. Scan photos that have damage
If you have photographs marked with ballpoint pens, any damage is already done. Previous generations didn’t have access to the photo-safe tools we have today. Don’t worry too much about it. You can scan the photos to preserve the image and digitally repair ink smudges, and make sure that you use appropriate products when identifying your photographs.

Last updated, May 2020
ADVERTISEMENT