Sign up for the Family Tree Newsletter Plus, you’ll receive our 10 Essential Genealogy Research Forms PDF as a special thank you!
Get Your Free Genealogy Forms
"*" indicates required fields
From the days of daguerreotypes until color photos became ubiquitous in the 1950s, it was common practice to hand-color black-and-white photos. The distinctive look of the picture—pale pastels and rosy cheeks—can add an air of nostalgia to a scrapbook page or family history display. You can re-create this retro look with black-and-white prints of your photos and modern tools:
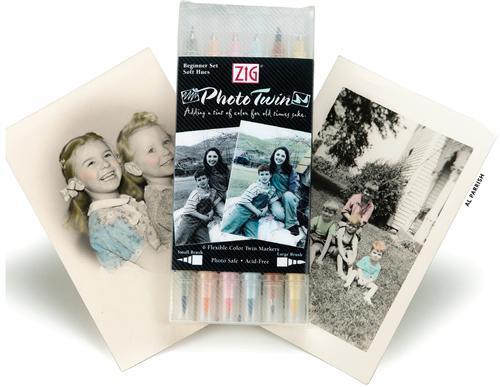
- Zig Photo Twin Markers, available at most arts and crafts stores, have a large brush on one end and a flexible, small one on the other for detail work. They cost about $22 for six and come in four sets: Beginner (great to start with), Natural, Cheerful and All Seasons. These work on both matte and glossy prints.
- For matte prints, you can use colored pencils, available at any arts and crafts store, to achieve a tinted look. Buy pale colors: pink, light yellow, baby blue, light green, etc.
- If you’re artistic and you can afford to make the investment, try a paint such as Marshall’s Photo Retouch & Tinting oils. These cost about $10 for a tube.
Follow these photo-tinting tips for best results:
- You can use photo-editing software or apps to change a color photo to black and white for tinting. For best results, your black-and-white photo should have plenty of light areas. Tints won’t show up well on a dark or shadowy image.
- Don’t color your original photo. Make at least one copy to practice on in addition to the one you’ll display. Be sure to use the type of paper—glossy or matte—recommended for the tinting tools you’ve chosen.
- Color a few focal areas. The effect is lost if you tint the entire photo. Cheeks, eyes and hair are typical areas to color; also consider coloring a hat, clothing, prop (such as a flower or teddy bear) or other part of the picture you want to stand out. Look at other hand-tinted photos for ideas.
- Work slowly. Color a small area at a time. Use a light touch—no need to push down on the marker or pencil.
- Build color in thin layers. Add a layer, then pause to evaluate your work. You can always add color, but you can’t remove it.
- If you’re using colored pencils, hold the pencil at an angle to the photo’s surface and use the side of the pencil tip to gently shade in the area.
- If you’re using photo markers or paints, read the manufacturer’s instructions before you begin. With some products, you need to apply a solution to the photo before you begin coloring.
The Photo Rescue e-book will show you how to digitally repair and archive your precious family photographs.
ADVERTISEMENT