Sign up for the Family Tree Newsletter Plus, you’ll receive our 10 Essential Genealogy Research Forms PDF as a special thank you!
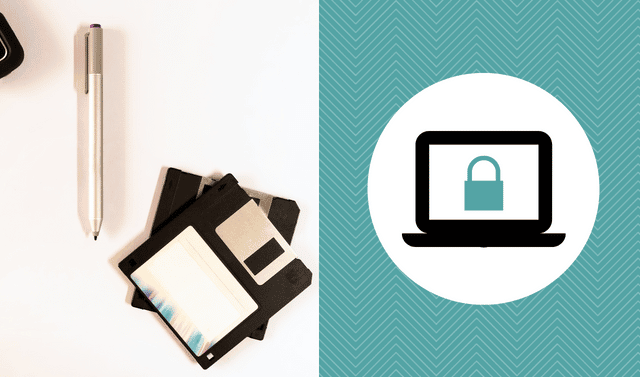
Ask the Expert: Magnetic Media Transfer
Got old family footage or interviews on tape? Not safe, says Matthew Stone, vice president of operations for ScanDigital. Transfer them in time for big family gatherings, and you’ll be sure to have happy holidays.
Q. What kinds of magnetic tapes might a genealogist have lying around? Why should we worry?
A. Audiotape cassettes, VHS tapes, floppy disks, and Super 8 film and 16mm film with magnetic stripe sound. Magnetic media is susceptible to deterioration like other types of storage. Simply put, data should be transferred to a newer storage format.
Q. But I don’t even watch my old tapes. Is there still a danger?
A. The number of times the materials are viewed may have no effect at all. It’s important to transfer the data stored on magnetic media before you notice deterioration to preserve it and prevent complete loss.
Q. How should we store original tapes?
A. Storing conditions of videotapes, film footage or floppy disks are all similar. Be sure to find a cool, dry place where temperatures don’t exceed 70 degrees. Keep them out of direct sunlight and away from liquids. Even when stored under optimal conditions, however, the materials will start to suffer quality and data loss.
Q. Can we make new copies onto the same kind of tape?
A. It isn’t preferable. With outdated media types, it may not be possible to copy your data to the same kind of tape. As new techniques are discovered and refined, it’s a better idea to upgrade your storage method to a current technology. Each time a copy is made there will be some degradation and quality loss. The best solution would be to transfer into a high-quality digital format and avoid any potential future quality loss.
Q. So how do I transfer old tapes to high-quality digital formats?
Digitope makes an inexpensive kit to let you transfer your old audiocassettes or vinyl records.
Q. How do I hire a service to transfer my originals to digital?
A. The process of placing an order can really vary in terms of ease of use, quality and turnaround time. Do your research. At ScanDigital, we try to make the process as easy as possible. Basically, you create a shipping label on the website, send off your originals via secure shipping channels, and get everything back within a few weeks.
Q. Is it true that a new digital version might be better quality than my original?
A. Often, transferring your old film to digital will greatly improve the quality, from frame-by-frame to high-definition captures to color adjustments. Most video transfer is done at a straight 1:1 copy, and the digital output will similarly match the quality of the tape. The quality of the transfer equipment will come into play, as well as the output file type and the amount of compression.
Q. How should I store the new digital audio files?
A. DVD storage is similar to any electronic equipment: Avoiding extreme temperatures and humidity will help it hold up for decades. Don’t worry too much about whether your DVD is 50-year-rated or a gold DVD rated for 100 years—DVDs won’t be widely used 50 years from now. It’s best to have your files in a format that can be transferred to the new storage method of the day. Most important, make copies of your files. No media or storage device is perfect, and it’s always wise to have at least one complete backup.
Archival Action: Digitize an Audiotape
Time: 1 hour +
Cost: $29.95
- It’s easy to convert an audiotape to digital with a tape player and your computer. Use Digitope Cassette to CD and MP3 Version 4 software (the kit for PC includes a cable), or if your computer has recording software, just use a cable to connect the tape headphone jack to the computer’s microphone socket.
- Insert tape in tape player and rewind or forward to the correct spot if needed.
- Use the cable to connect the tape player headphone jack to computer’s microphone socket.
- Open your computer’s recording software or run Digitope Cassette to CD and MP3 on your PC.
- Follow Digitope instructions, or press play on the tape player and click Record in recording software.
- Click Stop when the audio has stopped, if the software requires it.
- Give the file a meaningful name and save as a .WAV or .MP3 file on your computer. Remember to make a backup on a CD, hard disk or flash drive.
- Share the new file with loved ones. Save original tape and labeled backups in safe places.
Resources
From the December 2011 issue of Family Tree Magazine
More great genealogy resources from Family Tree Magazine: