Sign up for the Family Tree Newsletter Plus, you’ll receive our 10 Essential Genealogy Research Forms PDF as a special thank you!
Get Your Free Genealogy Forms
"*" indicates required fields
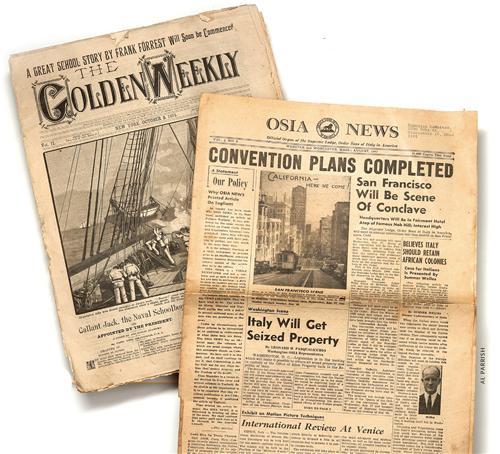
Somewhere in your house is a pile of folded and stapled bits of newsprint, perhaps hiding in a cardboard shoebox or stuffed into a plastic binder in the hidden recesses of a desk drawer. There’s no time like the present to save the clippings from certain deterioration with this helpful advice from Kathryn Wilmot, the curatorial specialist for print news at Washington, DC’s Newseum <www.newseum.org>.
Surprisingly, old newspaper clippings are often in better shape than newer ones. By the 1870s, newspapers were printed on paper made of wood pulp rather than rag paper. Wood pulp paper is acidic and deteriorates quickly if exposed to harmful conditions. But whether you’re preserving wood pulp or rag paper clippings, the methodology remains the same, Wilmot says.
First, photocopy the newspaper clipping on acid-free paper to ensure the information it contains is accessible.
Store clippings unfolded and separate from other items in acid-free archival folders. Placing sheets of acid-free buffered paper between clippings in the folder prevents acid migration, Wilmot says. If the clippings are particularly brittle, putting them in clear polyester sleeves will help protect them.
Keep the clippings away from sunlight, moisture and insects, and ensure that the storage environment has a steady temperature and low humidity. “Basements and attics are less-than-ideal spaces for archival materials because of temperature variations,” Wilmot says.
Never laminate newspaper clippings or other items — it will eventually destroy the document — and don’t use tape or any type of adhesive. Remove staples if you can do so without tearing the clippings.
Deacidification sprays aren’t needed on pre-1870 clippings, since rag paper doesn’t have the acidic properties of wood pulp paper. But before you go nuts on your wood pulp paper clippings, consider these drawbacks: Wood pulp paper can easily wrinkle, spot or stain when it comes into contact with moisture, and the inks can run. “Also, deacidification sprays aren’t a lasting solution, as they don’t permanently remove the paper’s natural acidity,” Wilmot says. “Any type of proper deacidification should be performed by a professional conservator.
It’s better, in my opinion, to just keep the clippings in acid-free folders, separated by buffered paper, or in Melinex [polyes-ter] sleeves containing a piece of buffered paper if they’re very brittle.”
Ask the Archivist: In the Bag
Q. Which is better for storing heirloom photographs: paper or plastic?
A. A cheap plastic sleeve is just as dangerous as a cheap, acidic paper envelope. The safest supplies have passed the independent Photographic Activity Test (PAT). Unfortunately, the use of terms such as archival and photo-safe isn’t regulated, so those claims aren’t much help in spotting good-quality materials. Choosing between paper and plastic comes down to how often you plan to handle the photographs.
Plastic is great at protecting against damage from fingerprints, rough handling and spills. If you plan to show off your photos in albums, clear sleeves are a good choice, especially if your annoying third cousin refuses to wear gloves while pawing through Great-grandma’s photos.
But plastic has its drawbacks. The fact that plastic doesn’t breathe can cause more problems than it prevents. Photographs, film and tape are all made from materials that change over time. The materials can leech chemicals or give off gases that will inflict self-damage. As my preservation instructor put it, photographs in plastic are “sealed in their own juices.” Paper storage materials let the photographs breathe, making sure that offgassing doesn’t harm the materials you’re trying to protect.
What’s the best choice for your treasures? The most important step is to choose high-quality materials — that’s true for paper or plastic. If the photos are going to be passed around a lot, put them in high-quality plastic sleeves. A good idea is to make doubles and create a “hands-off” set that you store in acid-free paper envelopes and boxes.
—Sally Jacobs
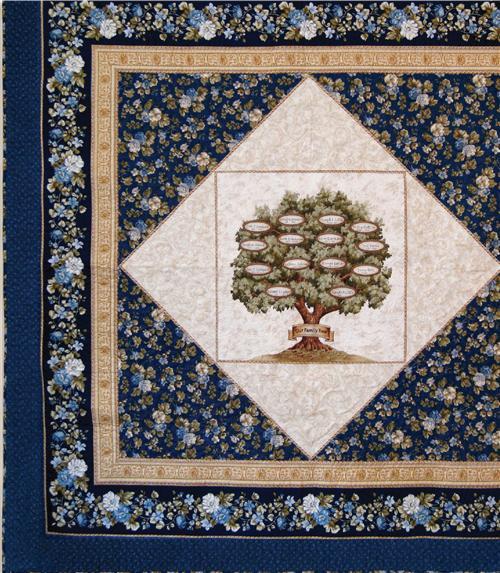
Quilt Trip
Looking for a fun family sewing project? Check out the Our Family Tree Wall Quilt by Pamela Lindquist. The cotton panel includes a tree, family member labels and instructions for customizing, appliquéing and hanging the quilt. Visit Benartex <www.benartex.com> to find a retailer near you.

Quicker Picker-Upper
ADVERTISEMENT