Sign up for the Family Tree Newsletter Plus, you’ll receive our 10 Essential Genealogy Research Forms PDF as a special thank you!
Get Your Free Genealogy Forms
"*" indicates required fields
This year, give your relatives a meaningful memento—for less than the cost of a typical greeting card. Using MyPublisher, you can create a 20-page, 3.5×2.75-inch album of family holiday memories starting at $2.99. That adds up to $45 for 15 albums.
For genealogists, this is an inexpensive way to share family history with relatives whose eyes otherwise glaze over at the mere mention of genealogy. You could feature favorite family photos from holidays past, share pictures and mementos of a loved one who’s passed away, or simply showcase interesting old photos and documents you’ve uncovered in your research.
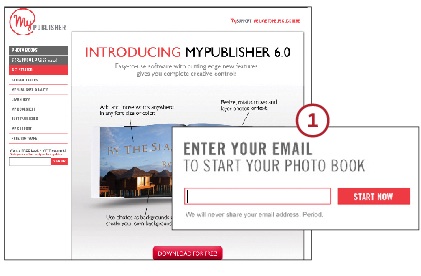
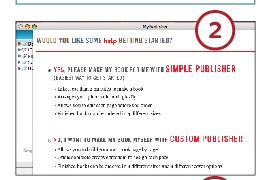
1. You’ll need MyPublisher’s free software to build your album (it’s compatible with PC and Mac). From the home page, select Get Started from the navigation bar, click the download button, and enter your email address to begin downloading. Follow the prompts to install the program.2. Launch the application, then choose whether you want to create your project with Simple Publisher (our choice for expedience) or Custom Publisher (allows more design control). Press Continue.
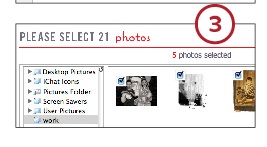
3. On the next screen, you’ll select the photos you want to include in your album.On the left side of the screen, you’ll see a list of locations on your computer that contain pictures. Can’t find the files you want in the pre-populated list? You can drag and drop a folder from your hard drive or an external device onto the list. Using Simple Publisher, a mini album accommodates 21 total photos.
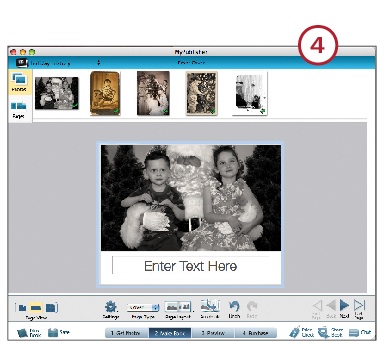
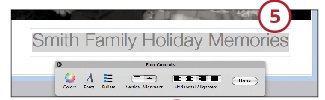
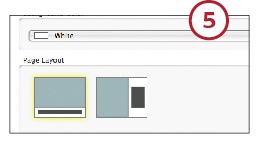
4. After you’ve picked out your pictures, click Continue. The site automatically adds the photos to your book in the order you selected them. You then go to the editing screen, where you can customize the cover of your mini album.5. Type the title of your album into the space indicated. Change the color, font and size of the text to your preferences. If you’d like to change the background color applied to all the pages in your album, use the Settings button in the toolbar at the bottom of the screen. You also have the option to pick a different page layout. Remember to save your work.6. Click Next to begin paging through the rest of your album (the second page is always blank). Switch between page views to look at single pages, two-page spreads and the whole book.
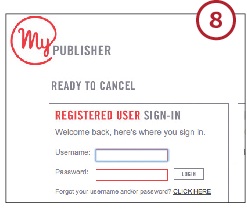
7. When you’ve finished customizing your album, save your project, then go to Preview to view a “proof” of the finished product. Like what you see? Hit Publish.8. You’ll need to set up an account with MyPublisher before you can place your order. Choose Create Account and fill in the form. Once logged in, you’ll indicate how many you want, where you want the order delivered and what shipping method you prefer. Then wait for your finished albums to arrive. Before sending to relatives, you may want to write a personal note inside each book.


From the January 2012 issue of Family Tree Magazine
More great genealogy resources from Family Tree Magazine:
ADVERTISEMENT