Sign up for the Family Tree Newsletter Plus, you’ll receive our 10 Essential Genealogy Research Forms PDF as a special thank you!
Get Your Free Genealogy Forms
"*" indicates required fields
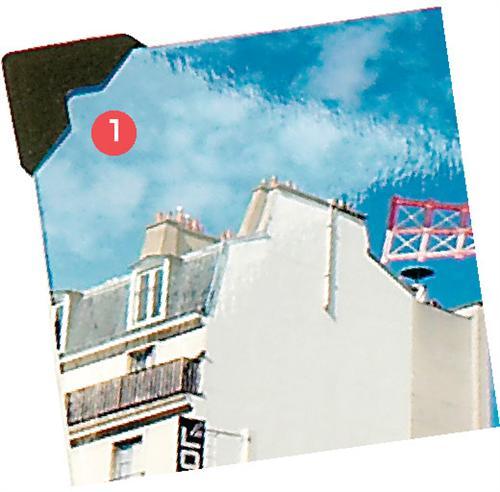
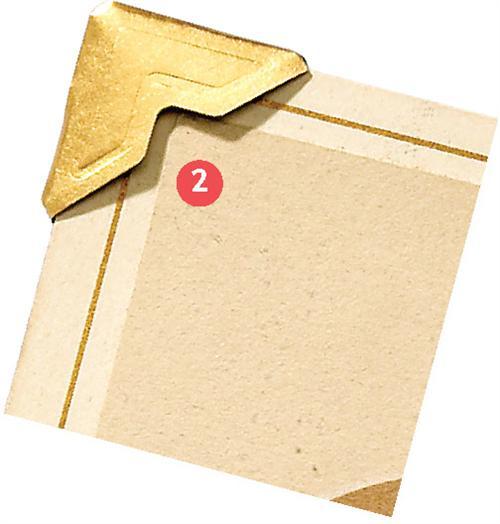
Corner Copious
Should you permanently mount heirloom photos and documents in your scrapbook with photo splits (those small, sticky squares), double-sided tape or glue? Conservators recommend against making such irreversible changes to historical items. But fortunately, scrapbook-store aisles are filled with products for beautiful, nonpermanent photo mounting. We scoured the shelves to show you some of our favorite photo corners.
 |
1. Cavallini & Co.’s classic lick-and-stick gummed Photo Corners, available in black or white, are like the ones in your grandma’s scrapbook. A darling tin of 240 corners is available from Jenni Bick Bookbinding. (800) 640-8758, <www.jennibick.com> |
 |
2. 3L’s old-fashioned, self-adhesive (no licking!) Paper Corners come in black, white, ivory, brown kraft, silver and gold. The company also makes clear, photo-safe polypropylene corners in a variety of sizes to handle even large documents. (800) 828-3130, <www.scrapbook-adhesives.com> |
 |
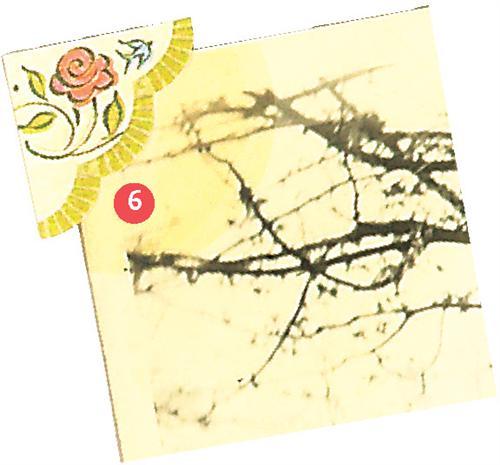
3. Intricate, laser-cut Artazz Paper Corners are made from acid-free, buffered paper in a variety of colors. Apply adhesive to the back of the corner before mounting. (408) 356-0435, <www.momentsmfg.com> |
 |
4. EK Success’ self-adhesive, satiny Laura Ashley Photo Corners up the glamour quotient. (800) 524-1349, <www.eksuccess.com> |
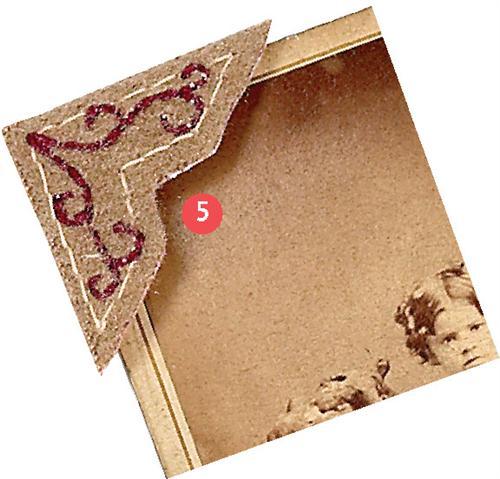 |
5. Nostalgiques Fabric Corner Stickers add a touch of texture and whimsy. (800) 524-1349, <www.eksuccess.com> |
 |
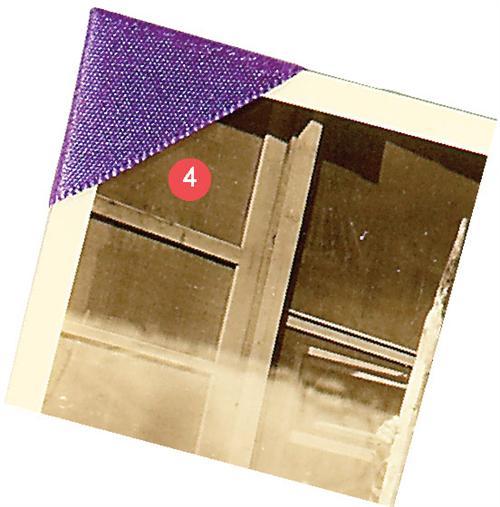
6. Embossed photo corners from K & Co. are triangular stickers you can use to customize clear photo corners. Each sheet has several designs to suit any layout, such as the Jessamine page shown above. (888) 244-2083, <www.kandcompany.com> |
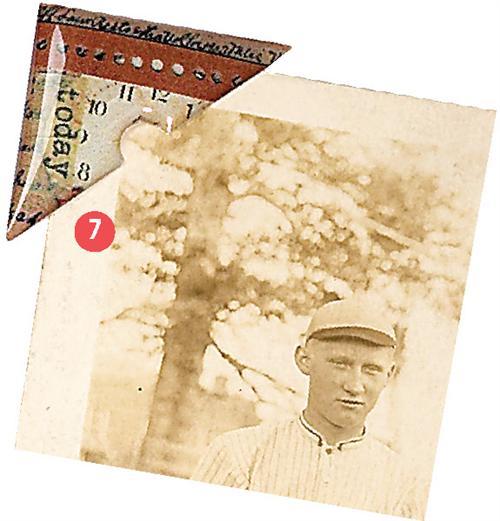 |
7. For dimension without too much bulk, fancy up a photo corner with EK Success’ self-adhesive Nostalgiques epoxy corners. The lacquered-look plastic corners feature vintage designs. |
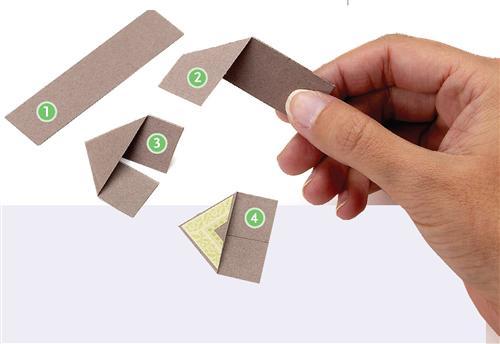
Saving your pennies? Can’t find the photo corners that will perfectly complement your pix? Here’s how to fold your own:
1. Cut a strip of acid-free paper that’s at least twice as long as it is wide. The wider the paper, the larger your corner — start with a half-inch-wide strip for practice.
2. Hold the strip horizontally. Fold the top two corners diagonally downward toward the center of its bottom edge, forming a triangle.
3. Turn over the corner to its front.
4. If you want, add embellishments such as stickers. Place double-stick tape on the back of the corner. Repeat to make four corners, slip them onto a photo and affix to your album page.
 That’s the Idea!
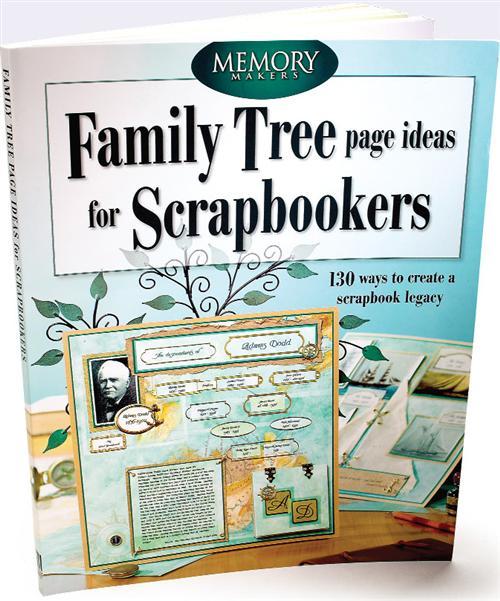
If you’re daunted by your pile of photos, documents and genealogical data waiting to be transformed into family tree scrapbook pages, look to Family Tree Page Ideas for Scrapbookers (Memory Makers Books, $19.99). This book showcases more than 130 pedigree presentations representing a range of styles from clean and classic to the latest layered look. Captions list materials and give how-to tips.
The book’s sections focus on traditional trees, pedigree charts, cultural ancestry and “hybrids” that show you how to display interesting family facts you’ve turned up (a Saints and Sinners page, anyone?). Some layouts, such as the ones with wire artfully twisted into trees, aren’t strictly archival — use those techniques with copies of photos, or let them serve as inspiration for your creations. You’ll most appreciate this book’s ideas on how to compile lots of genealogical information and memorabilia into scrapbook pages that are appealing and easy for even non-genies to understand.
News You Can Use
Q. How do I safely include newspaper articles in my heritage scrapbook?
A. Newspapers — which are meant to be pitched or recycled after you read them — are printed on poor-quality paper that contains acid and lignin. Both substances occur naturally and cause newsprint to yellow and deteriorate rapidly, especially when it’s exposed to sunlight. Rather than use a fragile newspaper clipping in your scrapbook, photocopy it onto acid-free, buffered paper.
If you want to include the actual clipping, first deacidify it using a spray product such as Bookkeeper from Preservation Technologies <www.ptlp.com/spray.html> to neutralize the acid and build up an alkaline reserve. This will help stabilize the clipping, but newsprint is still relatively fragile. It’s best to encapsulate it in a polypropylene sleeve before mounting.
If you don’t go the spray route, encapsulate the clipping along with a piece of acid-free, buffered paper to protect against acids that continue to form in the newsprint.

SCRAP SPEAK: balance
ADVERTISEMENT