Sign up for the Family Tree Newsletter Plus, you’ll receive our 10 Essential Genealogy Research Forms PDF as a special thank you!
Get Your Free Genealogy Forms
"*" indicates required fields

Creating an ancestor coloring book isn’t just a way to share family history with kids and grandkids. Adults today are increasingly turning to coloring as a way to help ease stress, so this activity is a great way to engage the whole family at your next reunion or holiday gathering. This simple tutorial will teach you how to turn family photographs into black-and-white outlines that you can print out at home and include in your coloring book. You can use images of people, places or objects to create theme books (such as marriages, immigration, military service, or ethnic customs and traditions). Get creative!
How to Create Your Coloring Book in 5 Easy Steps
Time: 5 to 10 minutes per photo
Supplies:
- scanned or digital images
- image-editing software such as PaintShop Pro, Photoshop Elements or free online apps such as Pixlr or GIMP
- printer and paper
- stapler or three-hole punch and string to create booklet
- crayons, gel pens or coloring markers/highlighters
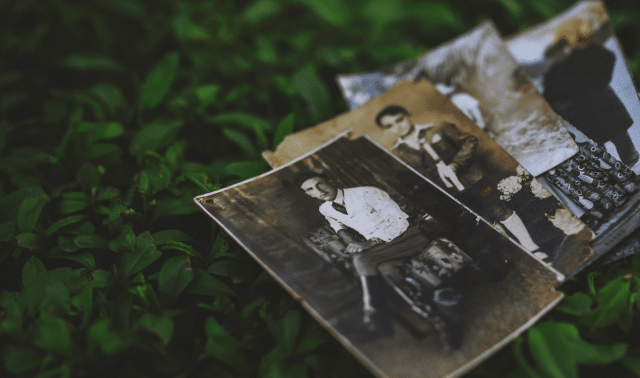
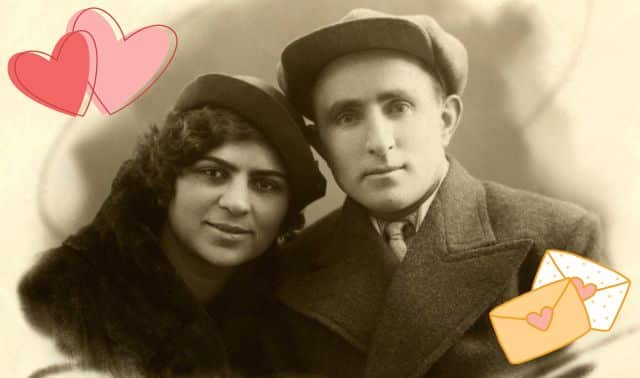
Step 1: Choose your photo(s).
You’ll turn these photos into pages for your coloring book. Choose photos that are in focus, have plenty of contrast between the objects in the scene, and a simple, distraction-free background. Close-ups of faces work well, as do interesting buildings.
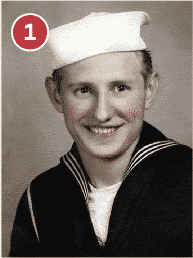
Step 2: Open the image in photo-editing software.
Open a photo in your photo-editing software of choice. For this example, I used Adobe Photoshop; Photoshop Elements has similar options and other programs will have different names for similar tools or editing options.
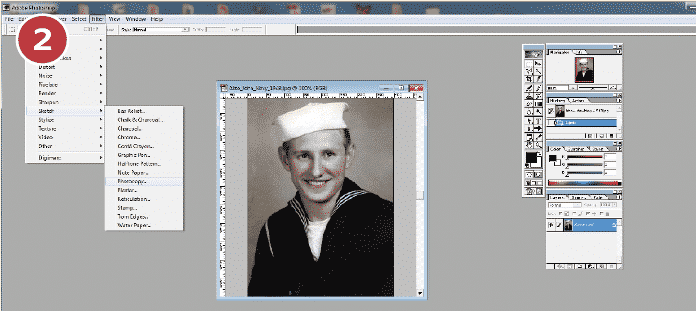
If the background is busy, consider using a selection tool (such as the marquee, magic wand or lasso tool) to select the background and then erase the background or make it all one color. Then, convert your image to be a black-and-white sketch. To do this, set the foreground color square to black, select the Filter tab, then Sketch, then Photocopy.
Step 3: Choose sketch options and add finishing touches.
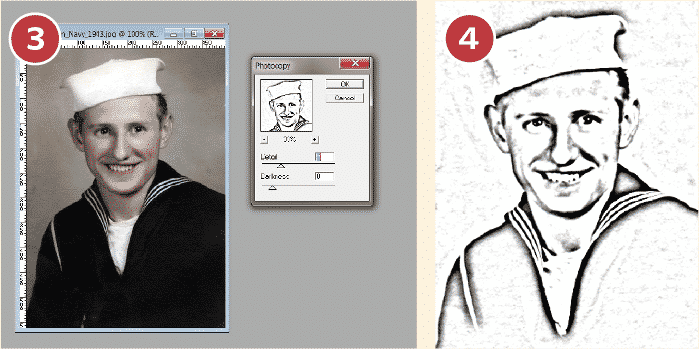
A new smaller window opens that gives you a preview of your “sketch.” Reduce the percentage by clicking the minus sign until you can see a thumbnail of the sketch. Adjust the Detail and Darkness sliders to your liking. Click OK. If areas intended for a specific color aren’t fully encapsulated with black lines, use the Pen or Line tool to fill the gaps by drawing in the appropriate lines.
Step 4: Save, print and repeat.
Click Save As and give the image a new name, and then print the image. Repeat Steps 1-3 for each image you plan to include in your book.
Step 5: Bind your book.
Staple the coloring book pages together, place them in a presentation binder or use a three-hole punch and paper fasteners to create a book. To be fancy, you could take your pages to an office supply store with a copying department to get the book spiral-bound for a small fee.
From the May/June 2016 Family Tree Magazine
Pin this article for later!
Related Reads


ADVERTISEMENT