Sign up for the Family Tree Newsletter Plus, you’ll receive our 10 Essential Genealogy Research Forms PDF as a special thank you!
Get Your Free Genealogy Forms
"*" indicates required fields
ONE-TWO PUNCH

(Tapestry in Time): When is a heart punch not a heart? When you trim it, give it a dab of glue and combine it with other punched shapes. Then it becomes a cow, boat, baby bottle, poinsettia or any of 136 other punch-art pieces. Each idea comes with instructions and illustrations for trimming the punches. A guide to the punches used in the book and a manufacturers list make punch shopping a breeze. Order at <www.tapestryintime.com>.
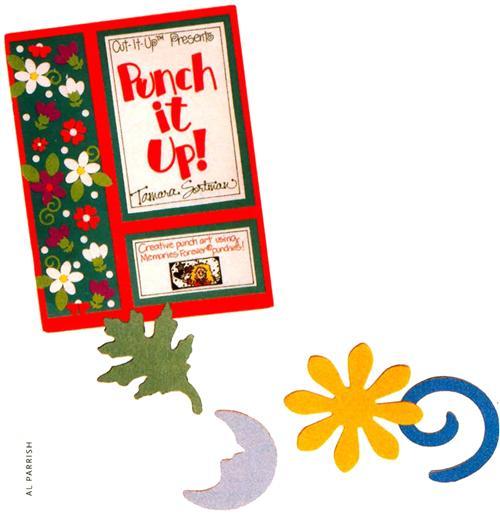
(Cut It Up Productions): This bright book divulges a few secrets from the punching pros, such as efficiently using tweezers and glue, frame punching and making punch alphabets. Then you’ll find more than 100 ideas and instructions for big, bold punch borders such as a moon and clouds, as well as smaller pieces such as wedding rings and soccer balls. Find it at scrapbooking stores or <www.scrapramento.com>.
SCRAP SPEAK: “3-D SCRAPBOOKING”
The use of 3-D elements such as buttons, beads, fabric or ribbon to embellish a scrapbook page. Make sure the item is acid-free (all those mentioned above are fine to use around photos) and won’t make an impression in photos on adjacent pages.
COMPUTER-AIDED designs
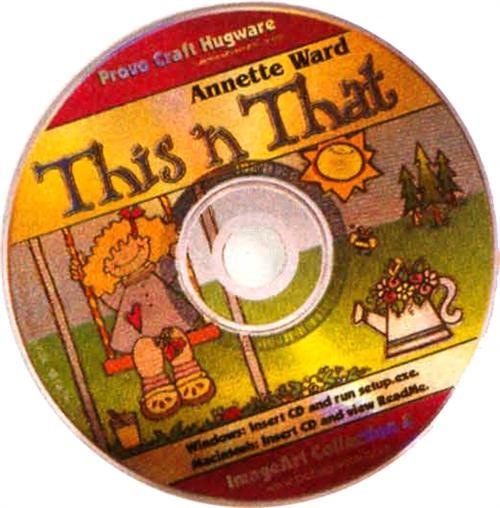
It’s easy to use your computer to add embellishments, photo frames and borders to your scrap-book pages. Provo Craft HugWare is a collection of 18 CDs of designs (available as line art, blended color and a hand-painted look) and fonts. This ‘n That, shown here, contains a variety of whimsical images such as bugs, characters, flowers and holiday items. The CDs are also useful for making cards, T-shirts (think family reunion) and other crafts. The art can be dragged and dropped into most Windows applications or printed, cut out and adhered to a page. To order or find out more, visit <www.pchugware.com> or call (800) 250-3988.
MALE CALL
We were at a recent scrapbooking convention when the announcer greeted the crowd with a booming “Good morning, ladies!” A cursory glance showed that the room was indeed full of female scrappers. Except for one nearby booth staffer, it was devoid of men.
As they enthusiastically crop and glue and journal, women become today’s keepers of family history. That means future family historians will have an easier path to their female ancestors. But — in a twist of genealogical irony — it also means that the valuable thoughts and perspectives of fathers, husbands and sons may be left out of scrapbooks. Try to include the men by:
• Asking specific, manageable questions, such as “What was your favorite thing about the trip?” or “Will you write a few sentences about when your grandfather took you fishing?”
? Being sneaky. Commit his remarks and observations to memory (or write them down on the spot) to include in your journaling.
? If he avoids the camera, take his picture when he’s engaged in an activity. Be sure to let him be in charge of the camera for awhile.
Pen Tip
Stray pen marks don’t have to mean starting over. Instead, let the ink dry and use a pen that matches the background paper to cover the unwanted marks. This technique works especially well on a white or black background (we know, because we had to use it on the tulips page at right!).
LETTER perfect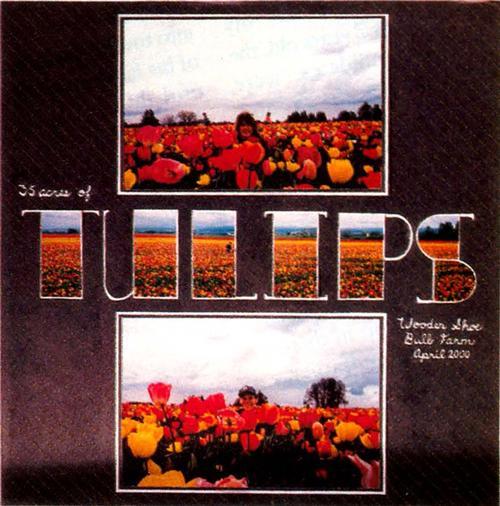
Say it with pictures — literally — by turning extra photos into page titles. The title on the tulips page below is made of one photo to provide a contiguous image; you might also use pieces of several different photos. To make photo letters, first choose the height and width of your letters and cut your photo into rectangles, one for each letter, with those dimensions. Straight letters are easiest: Mat the photo piece, glue it onto the page and complete the letter with a pen. For rounded letters, cut the photo piece into a curved shape (such as a half circle for an O), mat, glue and use a pen to finish.
SCRAPBOOKING Q&A COLOR COPIES
Q. l use color copies of photographs and souvenirs in my scrapbook. How safe is it to do this?
A. You’ve asked a difficult question because inks vary from copier to copier, and the available information is mixed. There are a few ways you can make sure your color copies are safe in terms of acid content and moisture and light resistance:
? Ask your copy center or call the manufacturer (which may take some persistence). We called Xerox and found the company uses a dry xerographic toner that produces a water-insoluble, chemically stable and fade-resistant image on paper. The toner does have a slight acid content with a pH level of 6.5, on par with most others, says Xerox.
? Perform your own water-resistance and fade tests. If color copy toner runs or bleeds when held under running water, don’t use it in your scrapbook. To test fade resistance, place copies from different copiers in a window and cover half of each with black paper. After a few days, compare the covered and exposed portions. Stick with the copy that fades least.
? Much more important than the toner in determining the longevity of your color copies, though, is the paper they’re printed on. Bring your own acid-free, archival-quality paper to the copy center. And, of course, limit the copy’s exposure to light as you would any photograph. Combine these factors and your color copies are safe for your scrapbook and will last for years to come.
From the April 2001 issue of Family Tree Magazine
ADVERTISEMENT