Sign up for the Family Tree Newsletter Plus, you’ll receive our 10 Essential Genealogy Research Forms PDF as a special thank you!
Get Your Free Genealogy Forms
"*" indicates required fields

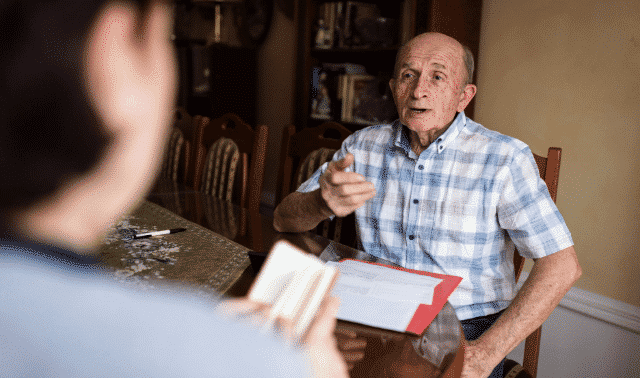
If you’re recording an oral history interview with a camera or smartphone, here are some secrets for success.
- To avoid awkwardness (or worse, a post-interview surprise discovery that you weren’t recording, after all), make sure you’re comfortable using the camera or phone before the interview.
- If your camera has a red light to indicate recording, cover it with a piece of tape. Sometimes this light can be distracting or make interviewees nervous.
- Use a tripod for the camera or smartphone, and make sure it’s placed in the least distracting spot you can find.
- Pick a room that’s brightly lit, or use lots of lights to ensure the best quality picture. But don’t have the subject sit in front of a window, which will cause everything in front of it to photograph too dark. Do a “screen test” with the subject to make sure the lighting is acceptable.
- Purchase a good microphone and test it as well.
- Have visual materials ready (photographs, artifacts, historical documents) so you can get these items on the video when the narrator begins talking about them.
- Copy the file onto your computer and make a back-up copy.
ADVERTISEMENT