Sign up for the Family Tree Newsletter Plus, you’ll receive our 10 Essential Genealogy Research Forms PDF as a special thank you!
Get Your Free Genealogy Forms
"*" indicates required fields
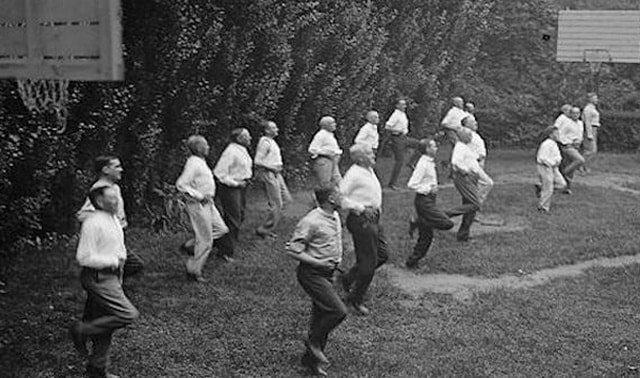
Every year, millions of Americans commit to going to the gym more. Gym memberships skyrocket, and sweatbands and yoga pants fly off the shelves.
But even if that particular resolution doesn’t pan out for you—let’s be honest, it won’t for most people—you can still resolve to improve your “genealogy fitness.” Just with like your muscles, you need to bulk up your research skills.
Looking for a longer-term plan? Check out our year-long genealogy research plan.
Strengthening your genealogy muscles doesn’t have to be difficult or tiresome. (After all, you wouldn’t start working out by running a marathon or bench-pressing 200 pounds.) You can work small “exercises” in to your daily routine that will make your research more organized, more accurate and better sourced.
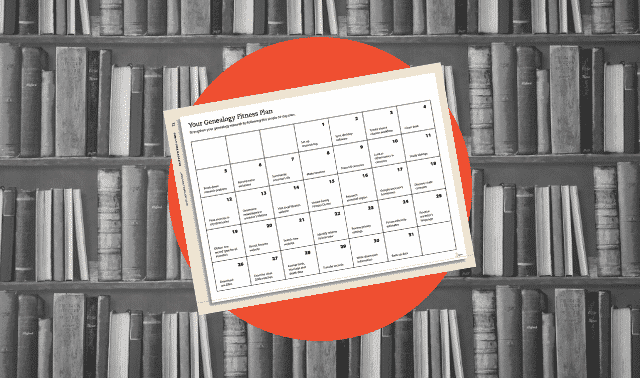
In the words of “Saturday Night Live” bodybuilders Hans and Franz: “We want to pump—you up!” Whip your genealogy into shape with this 31-day plan.
Day 1: Set Up a Research Log
This is an important first step that will keep you from repeating research throughout the month—and help you track your progress. Here are six details to include in a log.
Day 2: Sync Your Desktop Software with an Online Family Tree
Family Tree Maker and RootsMagic each have direct syncing compatibility with Ancestry.com and FamilySearch. If your services aren’t compatible, save your family tree as a GEDCOM file on your desktop software, then import into an online family tree (or vise versa).
Day 3: Create a Source Citation Workflow
Come up with templates for each of the sources you frequently use, then have them at the ready as you build out your family tree. (You are citing your sources, right?)
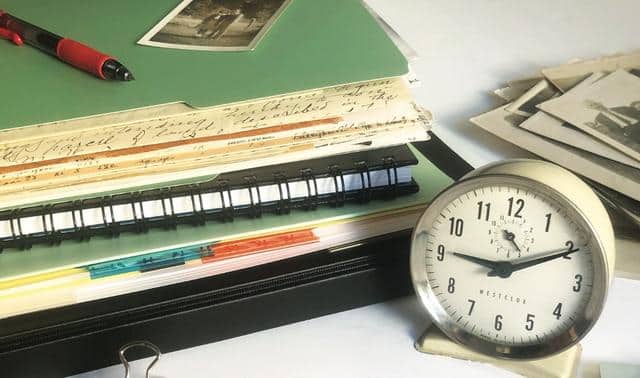
Day 4: Clean Your Desk
Sort through any files that have piled up, and clear off any trash or clutter. You want to be excited to sit down and do your genealogy work, so make sure your workspace is inviting and easy to navigate. Denise May Levenick has some tips for organizing your desk like a pro.
Day 5: Break Down a Research Problem
You can tackle even the scariest, most enigmatic research question by breaking it into small, achievable goals. Take one thorny genealogy problem and break it down into three to five specific, achievable goals.
For example, if you’re trying to learn more about your great-great-grandmother, make one of your goals finding her marriage certificate (to find her maiden name), then her birth certificate (to find her parents’ names).
Day 6: Record All Variations of an Ancestral Surname
Our ancestors didn’t prize consistent spelling as much as we do today. As such, make a list of all the ways your ancestor’s name may have been misspelled (and misheard) based on phonetics. This will help widen your search if you’re struggling to find your ancestors in online records databases. We’ve got a free Surname Variant Chart that can help.
Day 7: Summarize Your Ancestor’s Life
Write a paragraph that includes everything you know about an ancestor. Start with the person’s birth, and be sure to include details that are more difficult to add in a family tree, such as occupation, family stories or personality traits.
Day 8: Make a Timeline for an Ancestor
Using your paragraph from day 7, plot out your ancestor’s life. Are there significant gaps? What years or major life events are not reflected in it? This well help you identify areas of his life that you still need to research.
Day 9: Trace Your Ancestor in Each Federal US Census During His Lifetime
US censuses are some of the few records to have been taken at regular intervals. Use this to your advantage to track your ancestor from birth to death.
Day 10: Look at Other Names in a Census Return
Because census records are organized by address, you can often find whole families living together. Note who appears in each census—and who goes missing from one enumeration to the next.
Day 11: Study One of Your Ancestor’s Siblings
Though not your direct-line relatives, your ancestor’s siblings (called “collateral” kin) had genealogical useful traits in common with your ancestor: names, hometowns, birth parents and more. Identify a sibling of interest, then learn all you can about him or her. Learn more about “cluster and collateral” research.
Day 12: Find Your Ancestor in Each City Directory Published in His Lifetime
City directories can help you better understand your ancestor’s community, as well as indicate where and with whom your ancestor worked. Study your ancestral hometown’s history to determine when these documents were created.
Day 13: Determine Which Newspapers Were Published During Your Ancestor’s Time and Place
Use Chronicling America’s U.S. Newspaper Directory to drill down to your ancestor’s community. Newspapers contain all sorts of valuable genealogical information (obituaries, social pages, birth/marriage/death announcements, etc.), so you’ll want to know what publications chronicled your ancestor’s community.
Day 14: Visit Your Local Library’s Website
Libraries contain a wealth of information and services useful to genealogists. For example, your library might subscribe to a free-to-use subscription service such as HeritageQuest or Ancestry Library Edition. Your library may also have collections of local records or city directories, plus family history books, ebooks or CDs that you can rent.
Day 15: Locate Your Local Family History Center
FamilySearch and the Family History Library have branches all over the world, each containing a bevy of local genealogical records collected over the past several decades. Locate the location nearest you, and consider planning a trip.
Day 16: Research Your Ancestral Region
Learn about the history of the state or province where your ancestor hailed from. (The free FamilySearch Research Wiki is an ideal starting place.) Keep an eye out for any mention of special sets of records to research, or an archive or society to contact. We at Family Tree have also produced research guides for each US state that you’ll find useful.
Day 17: Google Your Ancestor’s Hometown
What is the town like today? How is it different from when your ancestor lived there? Use the Street View tool at Google Earth to take a virtual walk down Main Street.
Day 18: Discover State and Territory Censuses
Discover state and territory censuses US federal censuses are great, but they were only taken every 10 years and may have been lost in fire or flood (e.g., the 1890 census). Fill in the gaps of federal censuses with information from state- or territory-level enumerations. We’ve got a list here.
Day 19: Obtain a Particular Kind of Record for All Ancestors Back to a Certain Generation
Obtain a particular kind of record for all ancestors back to a certain generation. For example, make sure you have marriage certificates for all of your parents and grandparents.
Day 20: Revisit Your Favorite Website to Check for New Records
Revisit your favorite website to check for new records. These databases are always adding and updating records, so be on the lookout for new collections to search (or, if the collection was just re-indexed, re-search).
Day 21: Search a New Website
Get out of your comfort zone and spend some time on a site you’ve overlooked. Our list of the Best Genealogy Websites list is a good place to start! We’ve also compiled a list of unexpected genealogy websites that you might not have thought to use for family history.
Day 22: Identify a Relative to Interview
Even if you don’t follow through with an interview, consider who might have the information you need, and what you would like to ask that person. Browse our list of family interview questions for inspiration!
Day 23: Review Your Privacy Settings
Online family tree services, social media platforms and DNA testing companies all share various amounts of data with different parties. Take today to swing through your accounts to make sure you’re only sharing what you want to be sharing.
Day 24: Peruse Your Ethnicity Estimates
Sure, they’re just estimates—but they can help you sift through DNA matches and connect with your ethnic heritage. Log in to look at your estimates, and note any changes from the last time you reviewed them. (Companies update their algorithms every now and then.)
Day 25: Practice Your Ancestor’s Native Language
Study the basic genealogy vocabulary: birth, marriage, death, mother, father, etc. The word lists on the FamilySearch Research Wiki will help, and we’ve got our own guides to Spanish, French, Czech and German.
Day 26: Download Your Raw DNA Data
What does this mean? Downloading raw DNA data creates a copy of your DNA results that you can archive as well as re-upload to third-party services like GEDmatch. These tools give you additional resources for analyzing your results, as well as a broader audience for connecting with other test takers.
Day 27: Examine All DNA Matches Closer Than Third Cousins
Look for familiar names or places. Use the notes section to annotate whom you believe each match to be. (Matches at the third-cousin level or higher can be difficult—if not impossible—to trace.)
Day 28: Format the Birth, Marriage and Death Data in Your Family Tree
Format the birth, marriage and death data in your family tree. This will help you better identify any errors or impossibilities in your records (e.g., a mother being born after her child).
Day 29: Transfer One Ancestor’s Records from an Online Family Tree
It never hurts to have your own copy of a digitized record—particularly if you don’t plan on keeping a paid subscription to an online records database. Download all of one ancestor’s records to your desktop for safekeeping.
Day 30: Write Down Your Own Information
Birth and marriage dates, places of residence, education/employment/military service information—anything that your descendants might find useful. Include copies of records and photos (with captions!), if possible.
Day 31: Back Up Your Data
Take a moment to make copies of your work in multiple places. You don’t want all of this hard work to go to waste!
Download Your Genealogy Fitness Plan

This article originally appeared in the January/February 2020 issue of Family Tree Magazine. Last updated, December 2022.
Related Reads


ADVERTISEMENT