Sign up for the Family Tree Newsletter Plus, you’ll receive our 10 Essential Genealogy Research Forms PDF as a special thank you!
Get Your Free Genealogy Forms
"*" indicates required fields
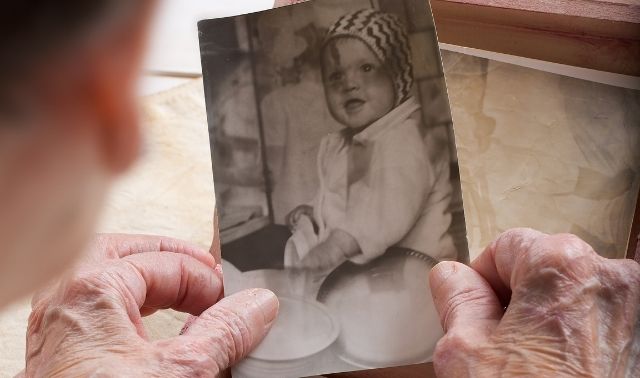
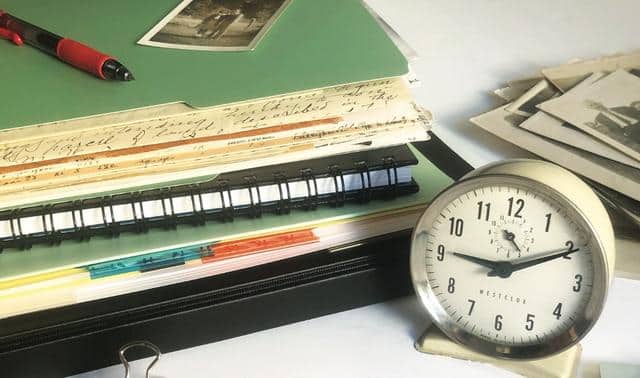
What family history enthusiast can’t claim to own boxes of “stuff.” That of course includes photos, which most assuredly don’t belong stuffed into that cardboard shoebox on your closet floor. The availability of inexpensive film rapidly expanded the number of photos in our attics, basements, closets, desk drawers and hard drives. So what’s an overwrought genealogist to do with all these pictures? Organize them, of course. I’ll recommend eight steps and the necessary supplies to set you and your pictures on the right path.
If you haven’t started digitizing your photo collection, now is the time to start! Already have your photos scanned? Check out these tips for how to organize your digital photo collection.
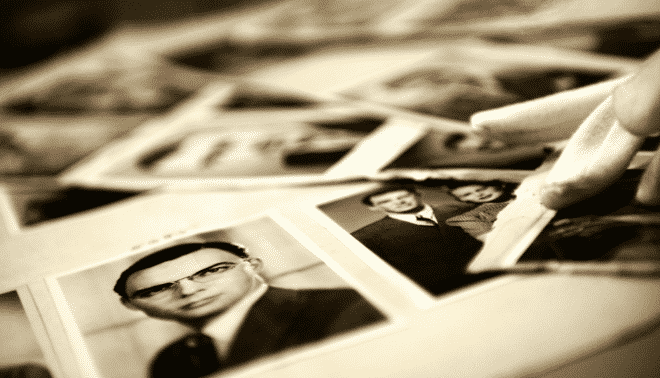
1. Survey your collection.
Start your photo-organization project by sorting your pictures by family. Unless your family married folks of the same surname, you’ll be able to sort your images by last name, then into family groups. What if you don’t know which branch the photo came from? Set aside space for “pictures from Grandma Thornton” or “Mom’s photos.” At least you can assign them to one side of your tree. Don’t mix photos from the maternal and paternal lines of your family, because keeping track of a photo’s provenance (the history of its ownership) can help you identify unknown faces.
Depending on the size of your collection, sorting may take a few days or a few months, so try to find a place where your stacks will be undisturbed. A card table in the corner of a room is fine. The area should be clean and provide plenty of space. If you can, save time by keeping everything out and within reach, so you can work a little whenever you have a few moments; otherwise, use archival storage boxes (see step 3). Cover your table of sorted photos with a clean sheet to protect them from dust and the fingerprints of curious onlookers. As you sort, take notes on the types of photographic methods represented in your collection. Not only can the photo format help you determine when a photo was taken, but knowing how many cased images you own versus tintypes versus paper prints is important when you shop for archival storage supplies.
2. Determine the provenance of the collection.
Establishing the collection’s provenance or history of ownership can help you piece together its past and identify the images. For example, knowing who owned the pictures could help pinpoint other surnames represented in the collection. Start exploring ownership patterns in your family photographs with three easy questions:
- What do you know about the collection?
- Where did it come from?
- Who owned it? (Note the last owner and as much of the collection’s history as you can recall.)
3. Notice similarities and differences.
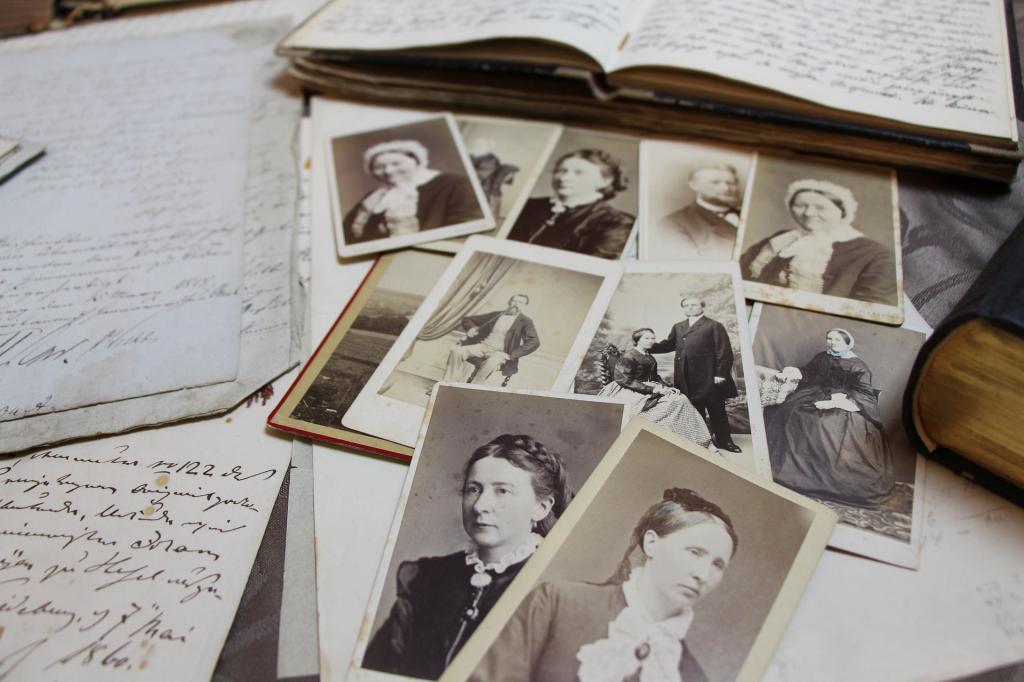
Most family collections contain both identified and unidentified images. Instead of immediately focusing on the unknown pictures, study the identified ones. Make a list of known individuals, or annotate your family tree. I like to use a highlighter on family tree charts to mark who’s represented in family pictures.
Spread out those identified images and compare them to the unidentified images. Look for facial similarities or multiple images of the same person. Pay attention to backgrounds and props. Family members often visited the same photo studio and sat for individual portraits at the same time. Look for numbers on the backs of the images. If one photograph has a 105 on the back and another has a 106, then the pictures probably were taken on the same day.
Each identified photograph provides an additional detail about the collection and can lead to other identifications. For instance, if there are several photographs of your aunt Jane, then you might find pictures of her husband or children in the same box.
4. Identify one image at a time.
After you’ve done the initial survey and compared photographs, it’s time to focus on one unidentified photograph at a time. Examine each one for clues—photographic method, photographer’s imprint, clothing clues and facial features. Try to develop a time frame for the image, and group the images by date.
You can also put these in an “Unidentified” file either grouped with a surname (if you know the person shown belongs to that family) or with other mystery photos. Keep records on your search for the person’s identity.
5. Narrow it down.
It’s OK to throw out a photo. (I’ll pause while you pick up your jaw off the floor.) It’s true: You can give yourself permission to discard, for example, those now-unidentifiable family vacation photos that don’t show any people. Ditto double prints and blurry-beyond-recognition pictures. Also remove and toss any of these: staples, paper clips, rubber bands, acidic paper envelopes (such as the kind photo developers package prints in) and poor-quality plastics (such as office-grade page protectors). These items can scratch or leach harmful substances onto your pictures.
Don’t toss an unidentified portrait of a non-relative, though. Imagine how happy the person’s family might be to have that image. Instead, post it on a photo reunion site such as DeadFred.com or AncientFaces.com. If there’s a name on the picture, use your genealogical research skills to find the family.
6. Stock up on supplies.
You know from HGTV that everything needs a suitable place to be stored. There are appropriate storage materials for every type of photo, and they don’t involve acid or lignin (common in cheap paper) or polyvinyl chloride (PVC; found in vinyl and many plastics). Those elements react with photos and cause fading and discoloration. Investing in the right supplies will save these images for the next generation. You might need archival storage boxes for prints, flat storage boxes for oversize prints, acid-free tissue for cushioning glass ambrotypes, paper photo sleeves for tintypes and daguerreotypes, non-PVC plastic sleeves for negative strips and slides, and albums for contemporary images.
Decide how many of each container you need: Is your Harrison photo collection big enough for its own box, or can you store it with the Jackson family pictures? Add soft-lead pencils for labeling the backs of your pictures, and book boxes sized to fit albums or Bibles. One way to save money on archival supplies is to go in with a friend and buy in bulk. Purchase from a museum or archival supplier, or visit a craft or organization store.
Read labels carefully, looking for the words “acid-free” and “lignin-free.” Stay away from any plastics that give off an odor, a sign of PVC content. Next, pick a storage location in your home. Stable temperature and humidity are important for long-term photo preservation, so avoid basements, attics and garages. Keep your collection away from sunlight, dust and bugs, and try to avoid areas near pipes that could burst. The best spot in your house is a windowless closet in the living area of your home, that’s also not an outside wall. If fluctuating temperature and humidity are a big problem, you can invest in a desiccant packet, which you place with your stored photos to absorb excess moisture.
Recommended Supplies
- Washable nylon gloves
- Blue photo-marking pencil
- Permapaque fine-point pen
- Adjustable corrugated book storage boxes
- Photo organizer storage kit
- Negative and print storage boxes
- Negative strip film storage system (35mm)
- Safecare photo storage album
- Polypropylene photo mounting corners
- 3-Ring page protectors with paper inserts
- Album divider guides
- Silica gel desiccant in dry box
Suppliers such as Gaylord Archival and University Products are good places to shop!
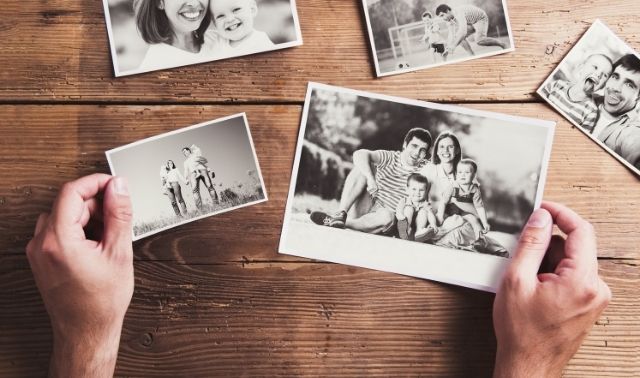
7. Label and scan.
Professional organizers tell folks not to handle a piece of paper more than once, but photos are a bit different. Give yourself two touches: once to scan and label the image, and once to file. Adapt the process to your needs. If you’re working with a lot of pictures, you may want to label and file everything in safe storage, then take out one box at a time to scan. While you’re waiting for your supplies, get working on identifying the pictures for future generations. For prints, write on the backs with a soft-lead pencil. Never use a ballpoint pen or a felt-tip marker on your pictures. Ballpoint smudges and makes indentations, and pictures might absorb the felt-tip marker’s water-soluble ink.

Note names of the people in the picture, their life dates, the place, the photo date as close as you know, and the person whose collection the image came from. Write everything you know, and keep in mind that partial information is better than none at all. For contemporary paper prints on slick, resin-coated paper, use a pen with waterproof, fade-resistant, quick-drying, permanent ink that’s odorless when dry. Preferably black. (How’s that for a list of pen requirements?) Both pencil and pen are available in art supply and scrapbook stores. You won’t be able to label some images, such as daguerreotypes (cased images developed on glass) and tintypes (a photo developed on an iron surface). For these, write on a paper sleeve and slip the image inside the sleeve.
Scan photos at a high resolution, at least 600 dpi (dots per inch) at 100 percent scale in full color (even for black and white photos) and save them in TIFF format. If there are markings on the backs, scan these, too. You could enlist the aid of your high-schooler or ship out your scanning to a company such as ScanDigital.com. Give each scanned image a meaningful name, such as hanson-albert-jan1925. Group your photos into folders using the same system as your actual photos, and if you have photo organizing software, use keywords to identify people in the picture.
8. File away.
Probably the most common way people organize their photographs is by family name, or in the case of contemporary pictures, chronological order. For instance, my snapshots with my husband and children are stored in albums by year and event, but my historical photos are stored by surname. I have so many old pictures that I number them to help with refiling—when I remove a photo from my files, I can easily put it back in the right place.
What organizational strategy makes the most sense for you? Try to have it echo the way you keep your other genealogy files. Write down your system and ask a genealogy friend what he or she thinks about it—it’s always useful to get a second opinion.
Filing by surname then first name (or a topic, such as “Seeger—Easter 1942”) works for most pictures. But events not clearly associated with one family, group pictures showing people from different lines, and oversize or cased images present challenges. Add a section in your files for group shots. File oversize prints in acid and lignin free folders in a large archival box. For other odd-size and cased images, keep like items together by family name in their own box. Same goes for highly fragile items, which you can cushion with acid-free tissue paper. Put any mold-damaged images in separate containers, as well, to keep the mold from spreading to other pictures (take them to a conservationist for restoration).
Label each container with the surname(s) and a general description of what’s in the box so you won’t have to unnecessarily open it and rummage through the contents. Additionally, I keep a list of who’s represented in my collection.
If you follow these steps for a picture-perfect collection, you’ll be able to find images in a snap, share them with family and rest assured they’re well cared-for.
Tip: Labeling your digital photos with keywords and tags lets you search for and quickly retrieve the photo you want. Keep a list of the people in your photos so you always use the same name for the same person.
Related Reads


A version of this article appeared in the February 2012 issue of Family Tree Magazine.
ADVERTISEMENT