Sign up for the Family Tree Newsletter Plus, you’ll receive our 10 Essential Genealogy Research Forms PDF as a special thank you!
Get Your Free Genealogy Forms
"*" indicates required fields
If you want to preserve your family history from disaster—or even just see the top of your dining room table again—you’ll need to start storing photos and records online. After all, you already know all the good reasons you should digitize your research. If looking at all that work sends you heading for the couch to watch some sitcoms, however, rest easy. We’ve broken the process down into five easy-to-follow steps.
1. Gather Your Materials
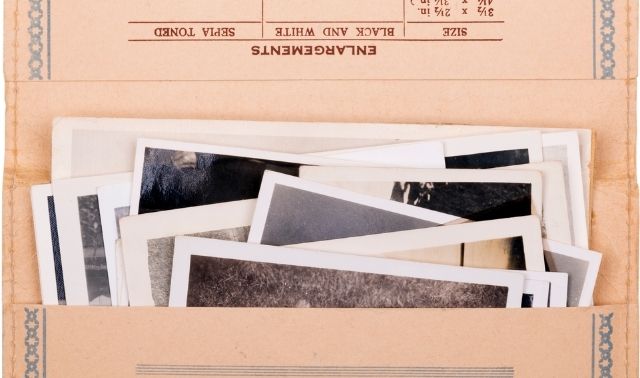
Some things aren’t replaceable should disasters strike, but you can protect your family history. Start by gathering all of your records and photographs together in one spot. And don’t forget other heirlooms! You may not be able to scan a vase or quilt into your computer, but you can take photographs of those items and document their provenance and history online.
If you’re not able to gather everything together all at once, make a list of items you’d like to digitize at a later date. This can include those larger heirlooms or items that live with other members of your family, or those that require special handling.
2. Divide and Conquer
Take care not to disturb any groupings or specific order that the items are in, but otherwise, begin to sort your items based on family relationships. Use a large tote or basket for each of the eight surnames of your great-grandparents. Don’t look too closely at the records you’re sorting, just skim it enough to sort it in the correct basket. Otherwise, you may succumb to the temptation to research instead of completing your sorting.
You may have old pictures and items that you’re not sure where to place. Create a ninth pile for undecided items.
3. Set up a Digitization Station
If you have a scanner, great! If not, you can still digitize your research by using a camera or your smart phone to snap pictures of the items. To get quality photographs, you can create a temporary light box with some poster board and a bright light source or two (go for white light, not yellow).
If you can, use a tripod and a stand to keep your items steady while you take the picture. Take some time to do some test shots to get the best reproduction possible and eliminate shadows, discoloration, glare and distortion.
While this sounds time intensive, it’s worth spending a few minutes taking this step. You’ll see the difference in quality when you start digitizing.
4. Start Digitizing
Put on some music or a podcast and you’re ready to begin. This is where sorting into the different piles really pays off—you’ll want to work on one family group at a time. Have your to-be-scanned pile on one side. Once you’ve scanned the items, set them to your other side. This way, you’ll avoid duplicating if you get interrupted.
5. Label and Store Your Digital Files
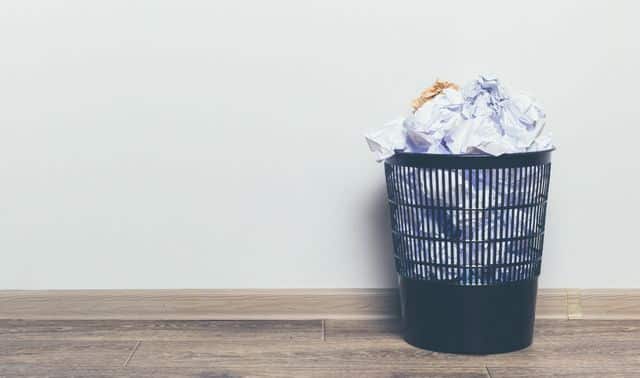
Once you’ve digitized a set, it’s time to organize them. You’ll want to keep originals, so figure out the best method for storing photos and records to keep them preserved or return them to their spots and/or owners. For copies of things like census records and notes, you can recycle or toss them as you wish.
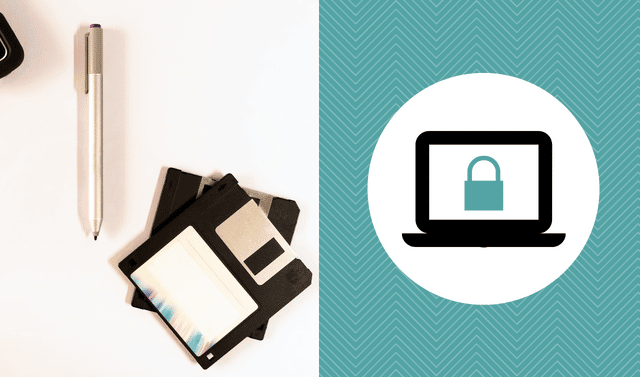
Organize your digital items. You can use the same surname folders as on your baskets, or find another system that works for you. But most importantly, make sure you rename and label your photos and documents clearly. You’ll also want to determine what kind of digital preservation system you want to use. There are plenty of cloud storage options such as Google Drive, Evernote and Dropbox that will help keep your work protected, as well as genealogy software and online trees. You can also share the items with family and friends by creating your own family website or on Facebook.
Finally, pat yourself on the back and reward yourself for a job well done!
Last updated, May 2018.
ADVERTISEMENT